Access to clean, great-tasting water is something many people take for granted—yet the quality of tap water can vary widely based on geographic location, municipal treatment methods, and even the plumbing in your own home. Installing a water filtration system can significantly improve the taste, smell, and safety of your drinking water. Whether you’re looking to address specific contaminants or simply want peace of mind, this guide will walk you through everything from choosing the right type of system to installation tips and long-term maintenance considerations.
1. Understand Your Water Quality Needs
Conduct a Water Test
Before investing in a filtration system, you need to know what you’re dealing with. A professional test or an at-home water testing kit will identify key issues such as:
- High levels of minerals (e.g., calcium, magnesium) causing hard water
- Contaminants like lead, chlorine, or pesticides
- Unpleasant odors or tastes (often due to sulfur or chlorine)
Armed with this information, you can select a filtration system designed to target the specific contaminants found in your water supply.
2. Types of Water Filtration Systems
There is no one-size-fits-all solution when it comes to water filtration. Each technology addresses different concerns, so it’s crucial to understand the basics:
- Carbon Filters (Activated Carbon)
- What They Do: Remove chlorine, bad tastes, and odors. Some may also filter out lead and other chemicals depending on pore size and quality.
- Best For: Improving taste and odor, reducing chlorine, and tackling minor chemical contaminants.
- Reverse Osmosis (RO) Systems
- What They Do: Force water through a semi-permeable membrane that removes a wide range of contaminants including heavy metals, nitrates, fluoride, and microbes.
- Best For: Households that have serious contamination issues or desire nearly pure water. However, RO systems can be slower to produce filtered water and may waste some water in the process.
- UV Purification
- What It Does: Uses ultraviolet light to kill or inactivate bacteria, viruses, and other microorganisms.
- Best For: Homes with well water or water suspected to have biological contaminants. Usually paired with another filtration method for comprehensive treatment.
- Distillation
- What It Does: Boils water, condenses the steam back into liquid, leaving most contaminants behind.
- Best For: Producing very pure water but can be energy-intensive and slow compared to other methods.
- Water Softening Systems
- What They Do: Reduce hardness by replacing calcium and magnesium ions with sodium or potassium ions.
- Best For: Households dealing with limescale, soap scum, or appliances wearing out quickly due to hard water. Note that water softeners don’t typically remove chemical or biological contaminants.
3. Point-of-Use vs. Point-of-Entry
Another crucial decision is whether you want to filter all the water entering your home (point-of-entry) or focus on specific taps (point-of-use).
- Point-of-Entry Systems: Often installed where water enters your home, treating every faucet, shower, and appliance. This is ideal if you’re concerned about contaminants in both drinking and bathing water—or want to protect plumbing and appliances from limescale.
- Point-of-Use Systems: Installed under the sink or on the countertop, focusing on filtration for cooking and drinking. These are generally more affordable and simpler to install, making them a good choice if your primary concern is clean drinking water.
Weigh your budget, space constraints, and overall water quality concerns. If your issues are specific to taste or contaminants in drinking water only, a point-of-use system might be enough. For more comprehensive protection, or if you have widespread issues like high iron or bacteria in well water, a whole-house point-of-entry system makes more sense.

4. Budget Considerations and Maintenance
When purchasing a water filtration system, the upfront cost is just one part of the equation. You’ll also need to account for:
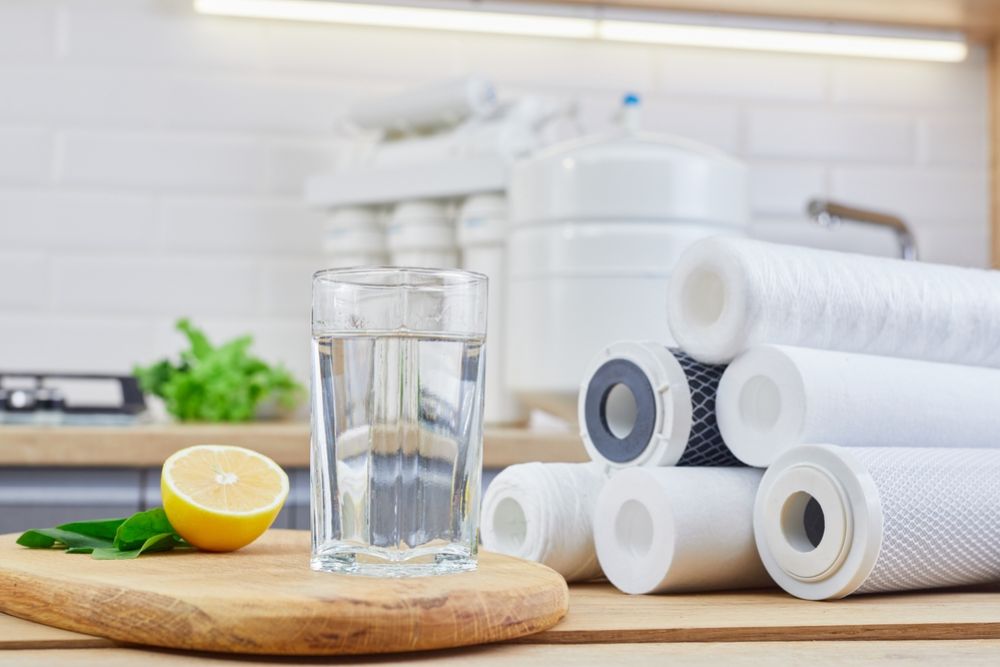
- Filter Replacements: Most systems require periodic filter changes—some as often as every three months, while others may last up to a year or more.
- Membrane Replacements (for Reverse Osmosis): RO membranes typically need replacing every two to three years, depending on water quality and usage.
- Energy Costs: Systems like distillation and certain pumps used in multi-stage filtration can increase your electricity bill.
- Professional Installation: Larger or more complex systems (especially whole-house setups) may require hiring a plumber or specialist, adding to the initial expense.
Always check the replacement schedule for filters and membranes, as well as their costs, before deciding on a system. A cheaper unit with expensive filters may cost more in the long run than a pricier system with more affordable consumables.
5. Installation Tips
DIY vs. Professional
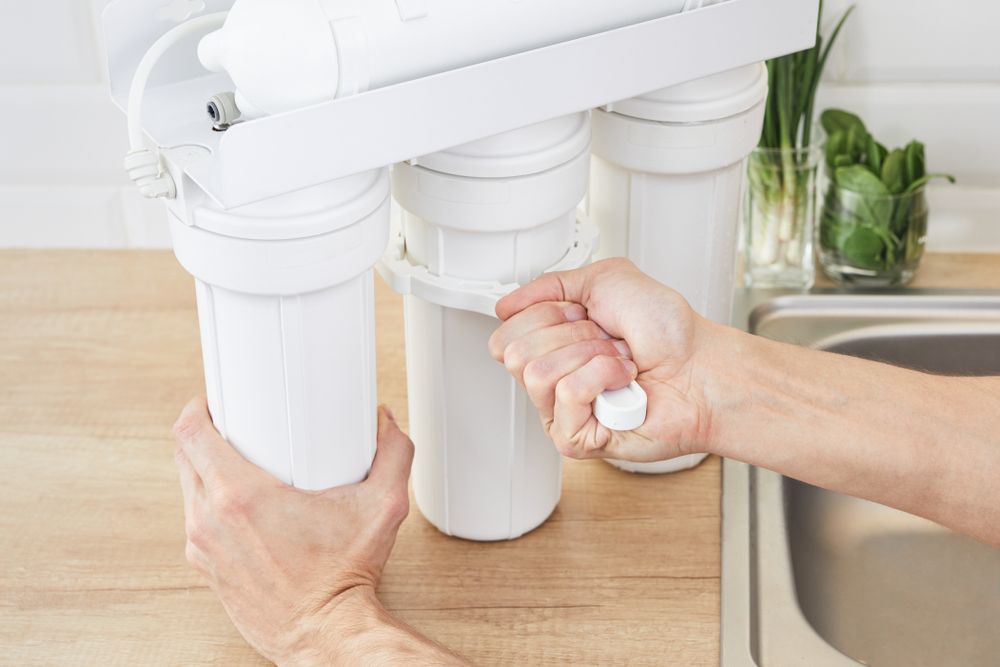
- DIY: Many under-sink or countertop filters are designed for easy installation. If you’re comfortable with minor plumbing tasks—like connecting hoses or drilling a hole for a faucet—you can likely manage it yourself.
- Professional: Whole-house systems, or those requiring new water lines, may necessitate a trained plumber to ensure the job is done correctly and meets local plumbing codes.
Placement and Space Requirements
- Clearance: Make sure there’s enough room under your sink or in your basement for the system’s tanks and filters.
- Proximity to Drain: Reverse osmosis systems and some other filtration technologies require a drain line for wastewater.
- Protect from Freezing: If you’re installing a whole-house system in a garage or crawl space, consider insulation to protect against extreme temperatures that could damage your unit.
6. Maintenance and Ongoing Care
A water filtration system is not a set-it-and-forget-it investment. Routine upkeep ensures both efficiency and water quality:
- Regular Filter Changes: Mark your calendar or set digital reminders to swap out cartridges. Overused filters can become breeding grounds for bacteria, reducing filtration effectiveness.
- System Sanitization: Some manufacturers recommend periodic sanitization, especially for RO systems. This process typically involves flushing the system with a specialized sanitizing solution.
- Annual Inspections: Even if everything seems to be working fine, consider an annual professional checkup. Small issues like leaks or clogged membranes can cause bigger problems if left unaddressed.
- Water Testing: For peace of mind, re-test your water quality annually—especially if you notice any changes in taste, smell, or appearance.
7. Common Mistakes to Avoid
- Overlooking Local Water Conditions: Buying a generic filter without testing your water first can lead to inadequate filtration.
- Choosing the Wrong Size: Make sure the system you select can handle your household’s water usage in gallons per day (GPD).
- Neglecting Installation Requirements: Some systems may need extra clearance, electricity, or a dedicated drain line. Failing to plan for these can complicate the process.
- Ignoring Warranties and Certifications: Look for systems certified by organizations like NSF or the Water Quality Association (WQA). These seals of approval ensure the product’s claims are backed by testing.
Investing in a water filtration system can profoundly improve the quality, safety, and taste of your home’s water supply. From understanding your unique contaminants and deciding between point-of-use or whole-house filtration, to considering ongoing costs and installation requirements, taking a methodical approach helps you pick a solution that aligns with your needs and budget. Don’t forget about routine maintenance—regularly changing filters and inspecting your system ensures that you’ll continue to enjoy crisp, clean water for years to come.
With the right system in place, you can sip, cook, and even bathe with the confidence that your water is as pure and fresh as possible.


